



In the video game Deadlock, cover does more than block incoming shots. A wall also changes how much of your hero an opponent can see and how quickly you can return fire.
Good camera position helps you read the lane before leaving safety. Together, these two skills reduce unnecessary damage and make every short trade easier to control.
Stand close enough to cover to leave the angle quickly
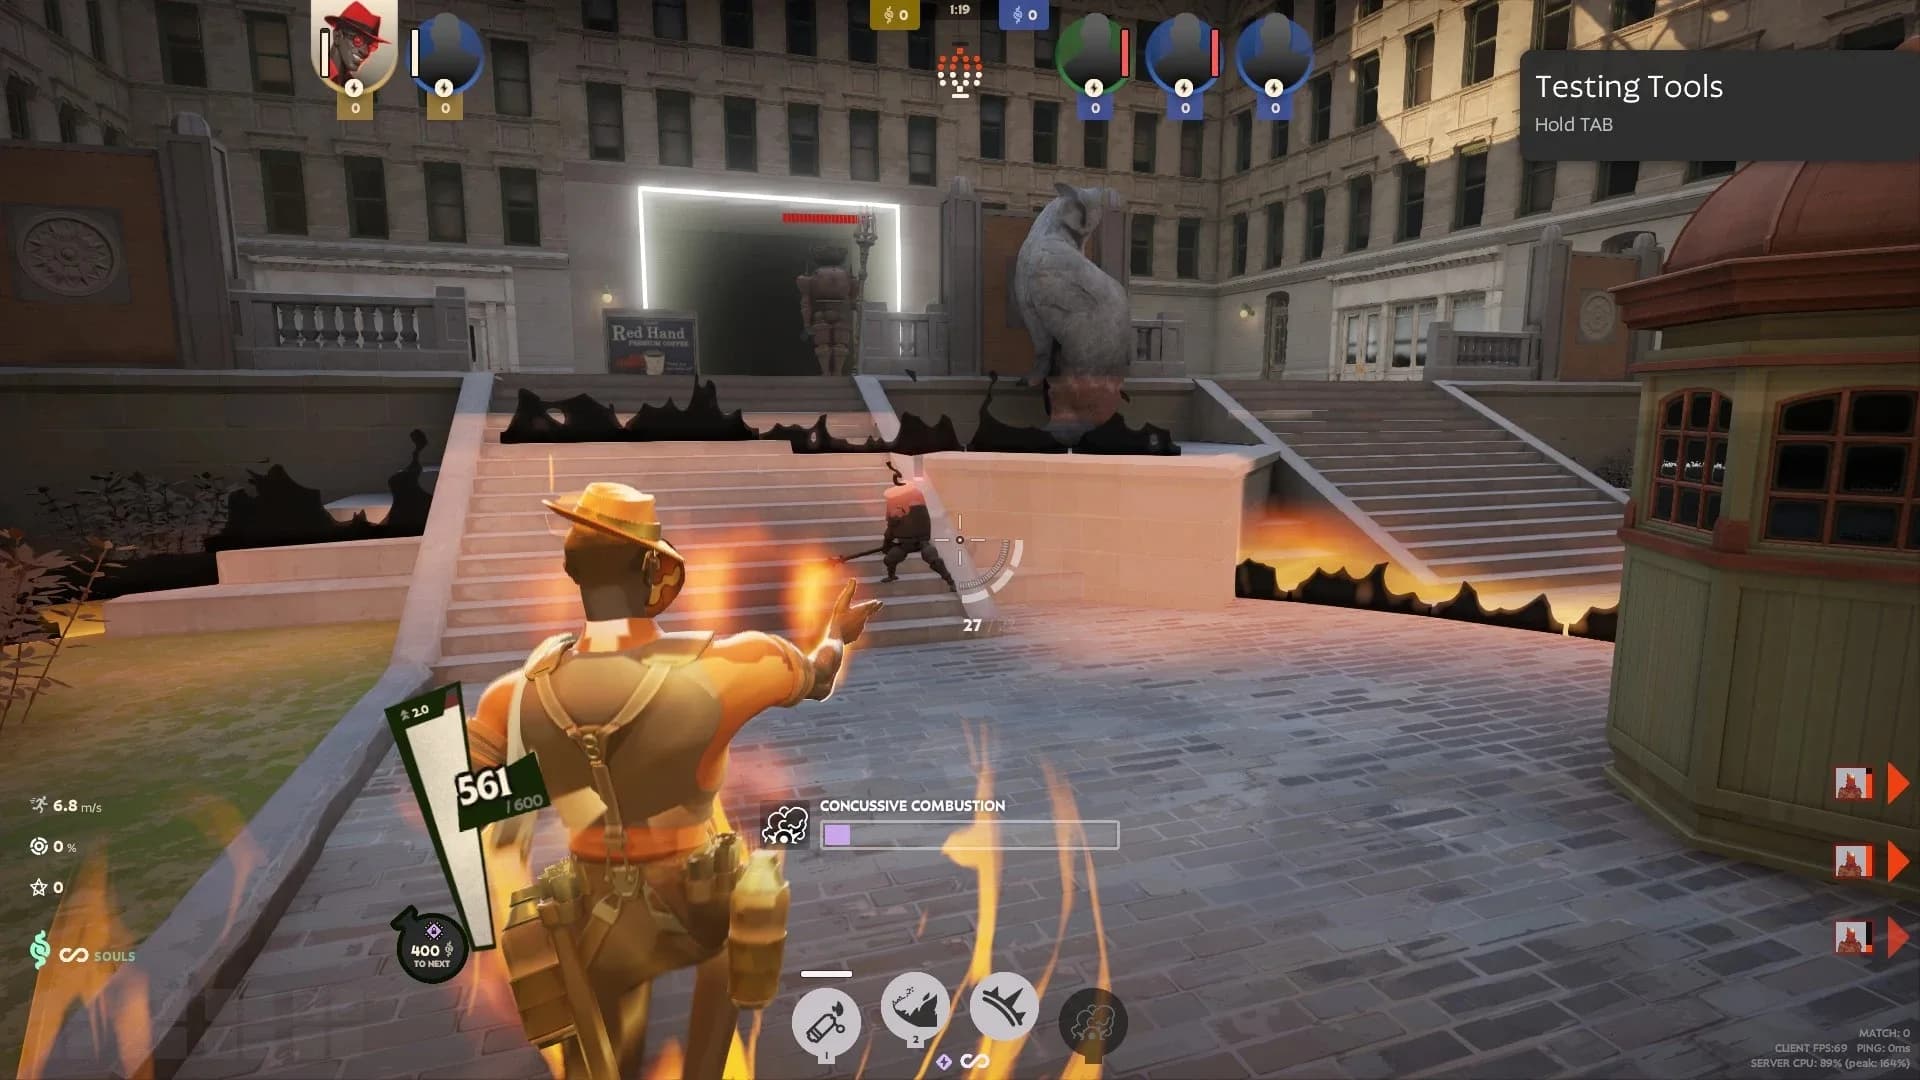
A useful position lets your hero shoot and return behind a wall with one short movement. Standing too far from cover increases the distance needed to escape. Standing directly against the wall can make the camera difficult to control.
Use the edge of a building, bridge support or lane object as a reference. Move out only far enough to see the target. After a burst, step back before the opponent can complete a longer return attack.
This rhythm is especially useful when both players still have full resources. You do not need to win the entire lane in one exchange. Several small trades can create a health advantage without exposing your hero to a long chase.
Move the camera before moving the hero
The camera can check part of an angle while your hero remains protected. Turn it toward the open lane and identify the enemy position before you step out.
Do not rely on the camera to see through solid objects. Its purpose is to prepare your aim and show visible movement near the edge. Your hero still needs a real line of sight before a shot can connect.
Pre-aiming reduces the time between leaving cover and firing. It also helps you notice whether a second enemy has entered the lane. That information can prevent a fair trade from becoming a two-player attack.
Use a narrow angle when more than one enemy is visible
A wide position may expose your hero to several opponents at once. Shift until the wall blocks all but the target you want to pressure.
This method is often called isolating an angle. The hidden enemy cannot shoot through the wall, so the short exchange stays closer to a one-on-one trade.
The position changes as opponents move. Check the minimap and camera after every few shots. If another enemy reaches the side of your cover, leave early rather than waiting until both lines are open.
Action comparison
One enemy is near the corner: Leave cover for a moment, then return.
Two enemies are visible: Position the hero to see only one target.
An enemy moves around the cover: Move back before both enemies can shoot.
The hero cannot move during an ability: Keep an escape route and one stamina charge.
Protect the escape route before committing an ability
Some abilities keep a hero in an animation or encourage forward movement. Before using one, check where you will stand when the action ends.
A safe route can lead behind the same wall, toward a friendly guardian or onto a movement line that the opponent cannot watch directly. Avoid using every stamina charge to enter the fight because you may need one to leave it.
The best angle is not always the one with the highest immediate damage. An angle that allows two safe attacks can produce more value than one risky attack followed by a death.

Change the pattern when the opponent begins to prefire
Experienced opponents will learn where you appear. If every trade begins from the same corner, they can place their crosshair there and fire before seeing your full movement.
Change the height, timing or side of the next peek when the lane allows it. You can also wait for friendly minions to create another threat. The goal is not random movement. Each variation should still preserve nearby cover.
Return to the simplest angle when pressure drops. Complex movement is useful only when it solves a problem. Reliable cover, prepared aim and a clear exit remain the foundation of safe lane combat.